Fanhome Build – Was zum Teufel war das?
Juni 27, 2022
Semi Project – MP18 Hängende Anzeigeeinheit
Mai 6, 2023Ich habe festgestellt, dass im Fanhome-Hobby meine Modellierfähigkeiten für den Bau des Knight 2000 nicht so notwendig sind, vor allem wenn man die bemerkenswerten Talente und Projekte betrachtet, die ich in verschiedenen Facebook-Gruppen gesehen habe. Daher habe ich mich entschlossen, meine Kenntnisse in Fusion 360 zu erweitern und mich selbst vor eine große Herausforderung zu stellen: die Erstellung einer beeindruckenden Vitrine für das Auto. Ab heute habe ich mit der Arbeit an dem hoffentlich präzisesten 3D-Modell des F.L.A.G. Semi Trailer Sets begonnen, das es gibt. Wenn meine Berechnungen für Größe und Maßstab korrekt sind, wird dieser 3D-Druck eine imposante Länge von 7 bis 8 Fuß haben. Natürlich wird dies nicht die einzige Waage sein, die ich anbieten möchte. Ich möchte auch Versionen in den Maßstäben 1:64, 1:32 und 1:25 herstellen, um Hot Wheels-, Jada Toys- und MPC/AMT-Fans anzusprechen. Wenn sich meine Modellierfähigkeiten als ebenbürtig erweisen, beabsichtige ich, die druckbaren STL-Dateien irgendwann zum Kauf anzubieten, und da ich mich selbst als Amateur-CAD-Künstler sehe, werde ich keinen exorbitanten Betrag für diese Dateien verlangen.
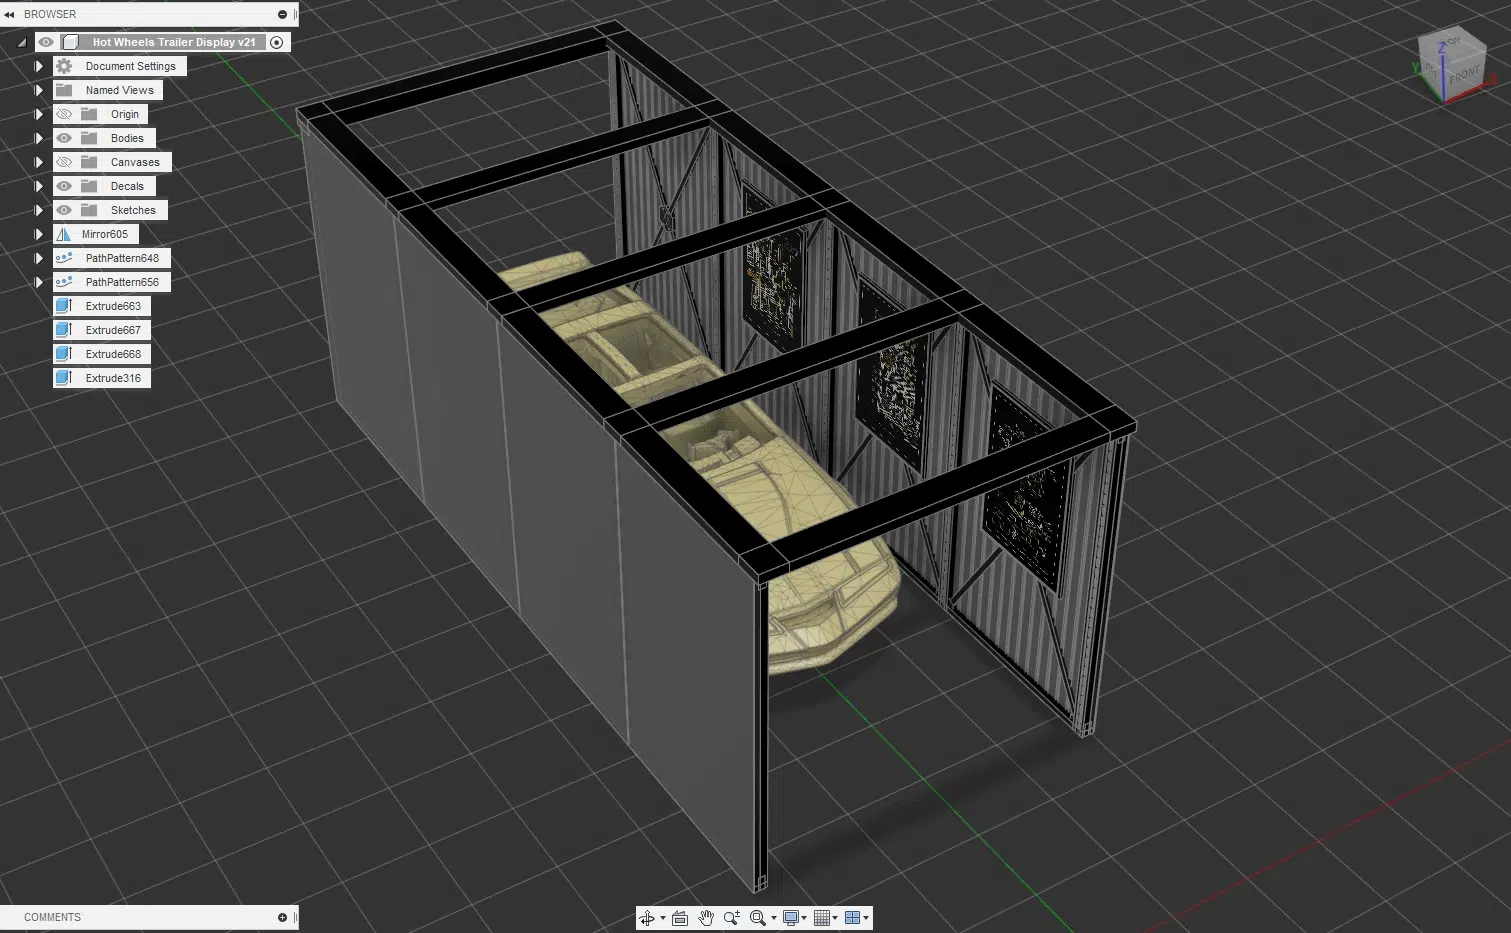
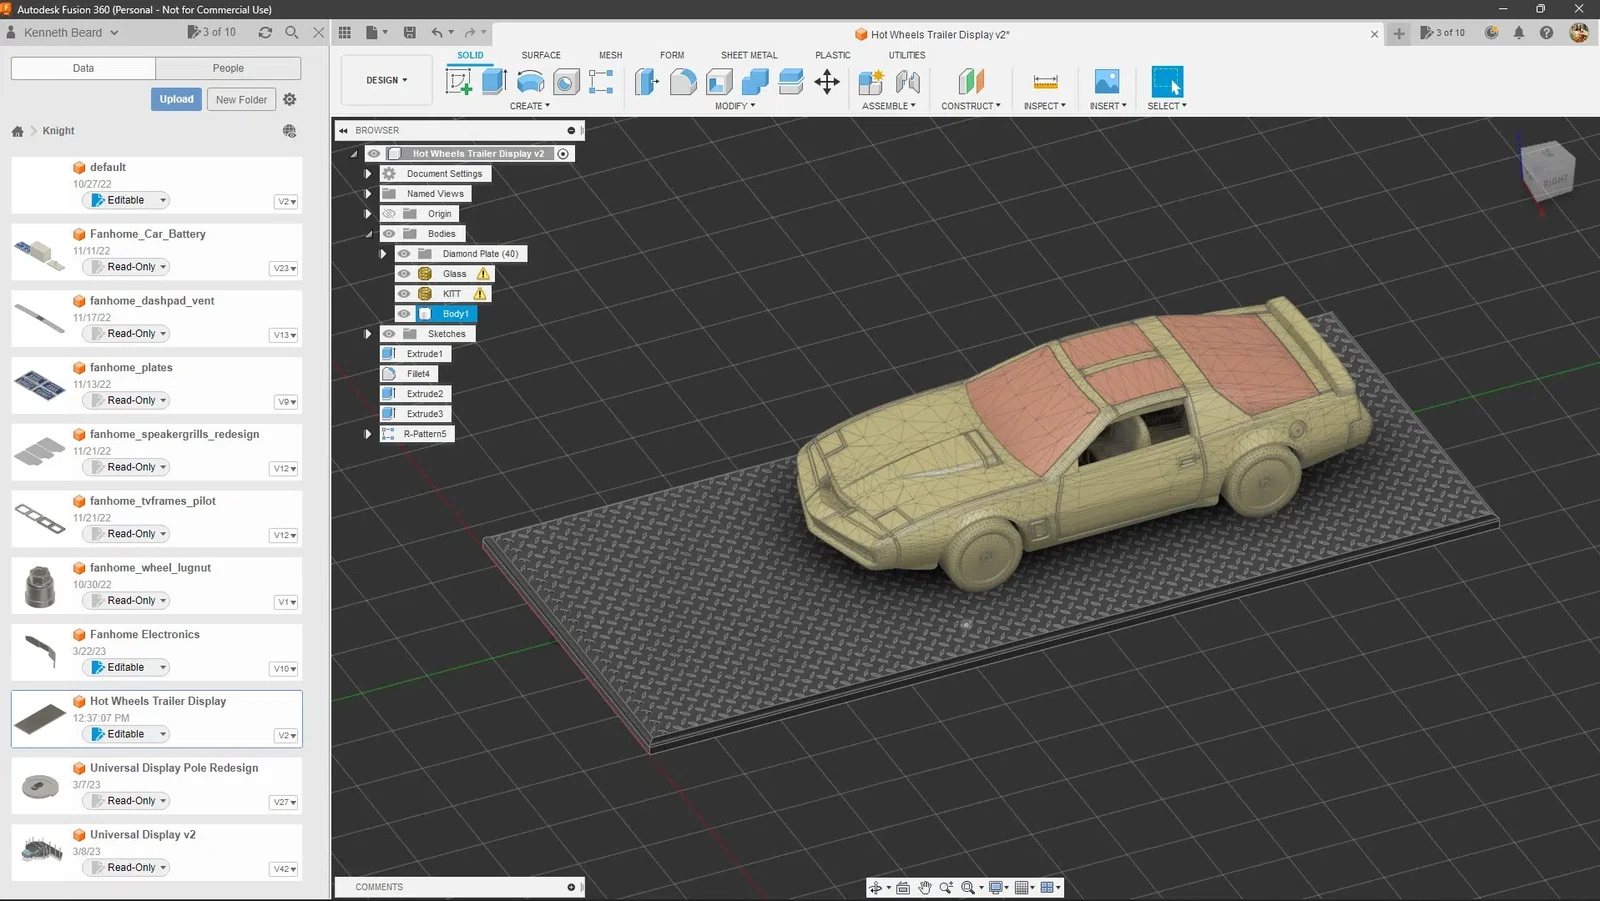
To kick off this project, I devoted most of my day to researching Dorsey trailers and gathering an extensive collection of reference photos from the USA Blu-ray release. Coincidentally, the Knight Rider Historians are in the process of restoring the actual screen-used rig and trailer from the series. Joe's videos provided crucial insights into the panels, dividers, posters, and precise measurements. I believe the logical starting point is to incorporate a reference for KITT, aligning it with the Fanhome car's scale, and use it as a guide for measurements until I acquire more accurate references. The initial extrusion you see is the floor, and based on my observations, it doesn't resemble diamond-plated metal like the closed ramp. Instead, it appears to have a raised circular pattern. Until I obtain a more accurate reference, I'll use diamond-plated steel as a temporary placeholder, with the flexibility to make adjustments later on. If you know what this flooring is called or have any idea what it is, please comment below and let me know!
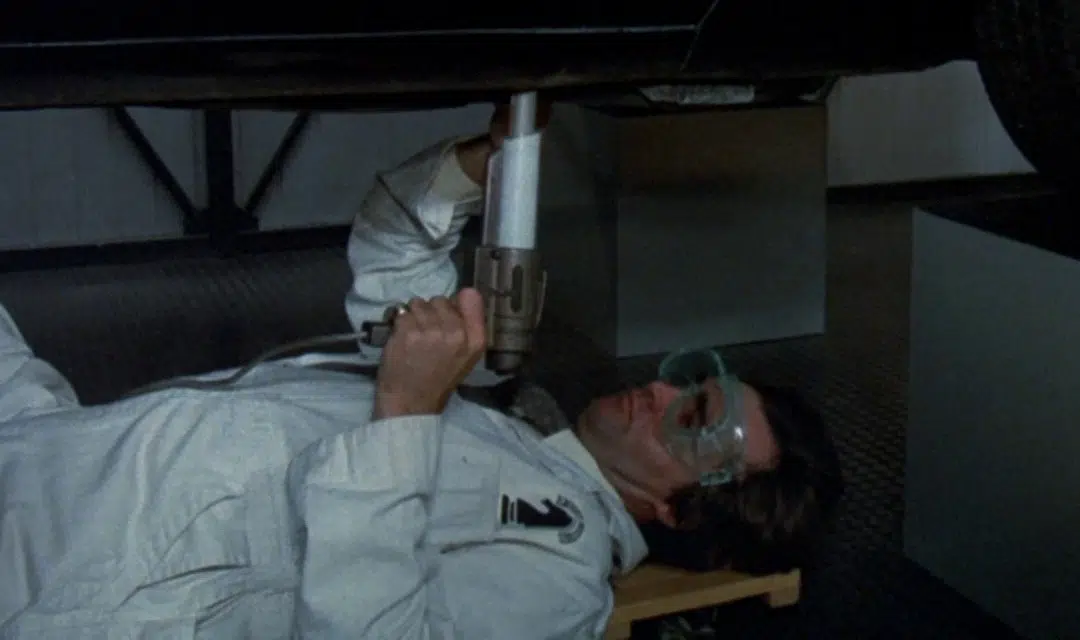
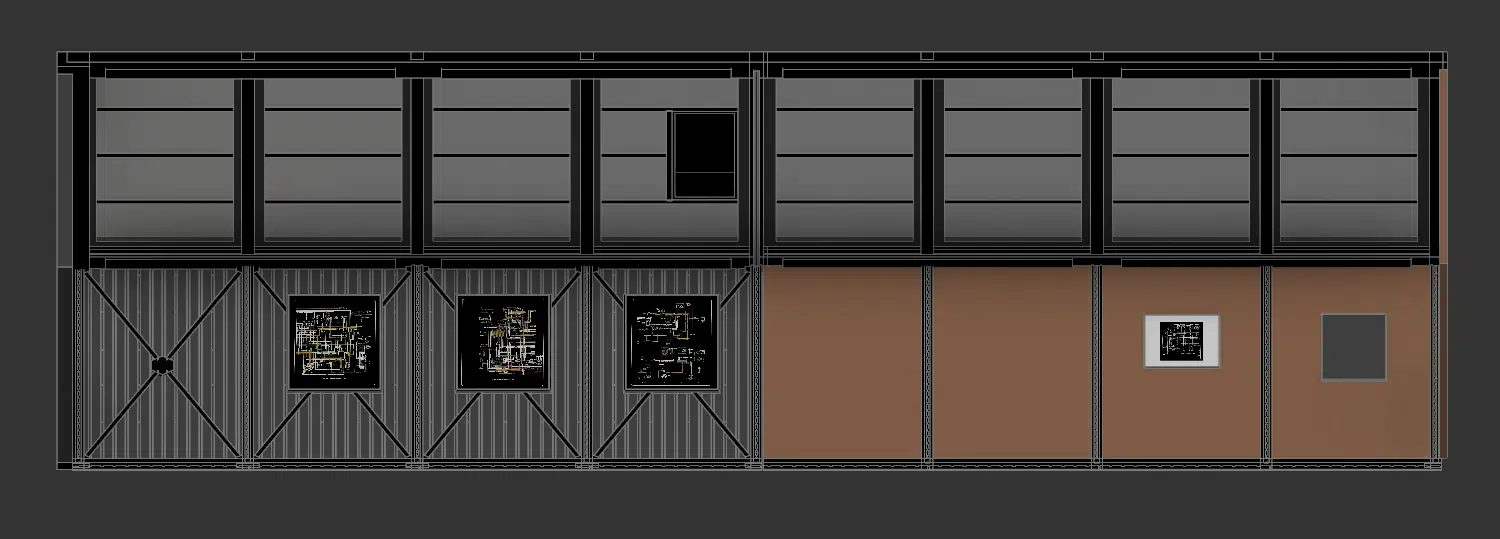
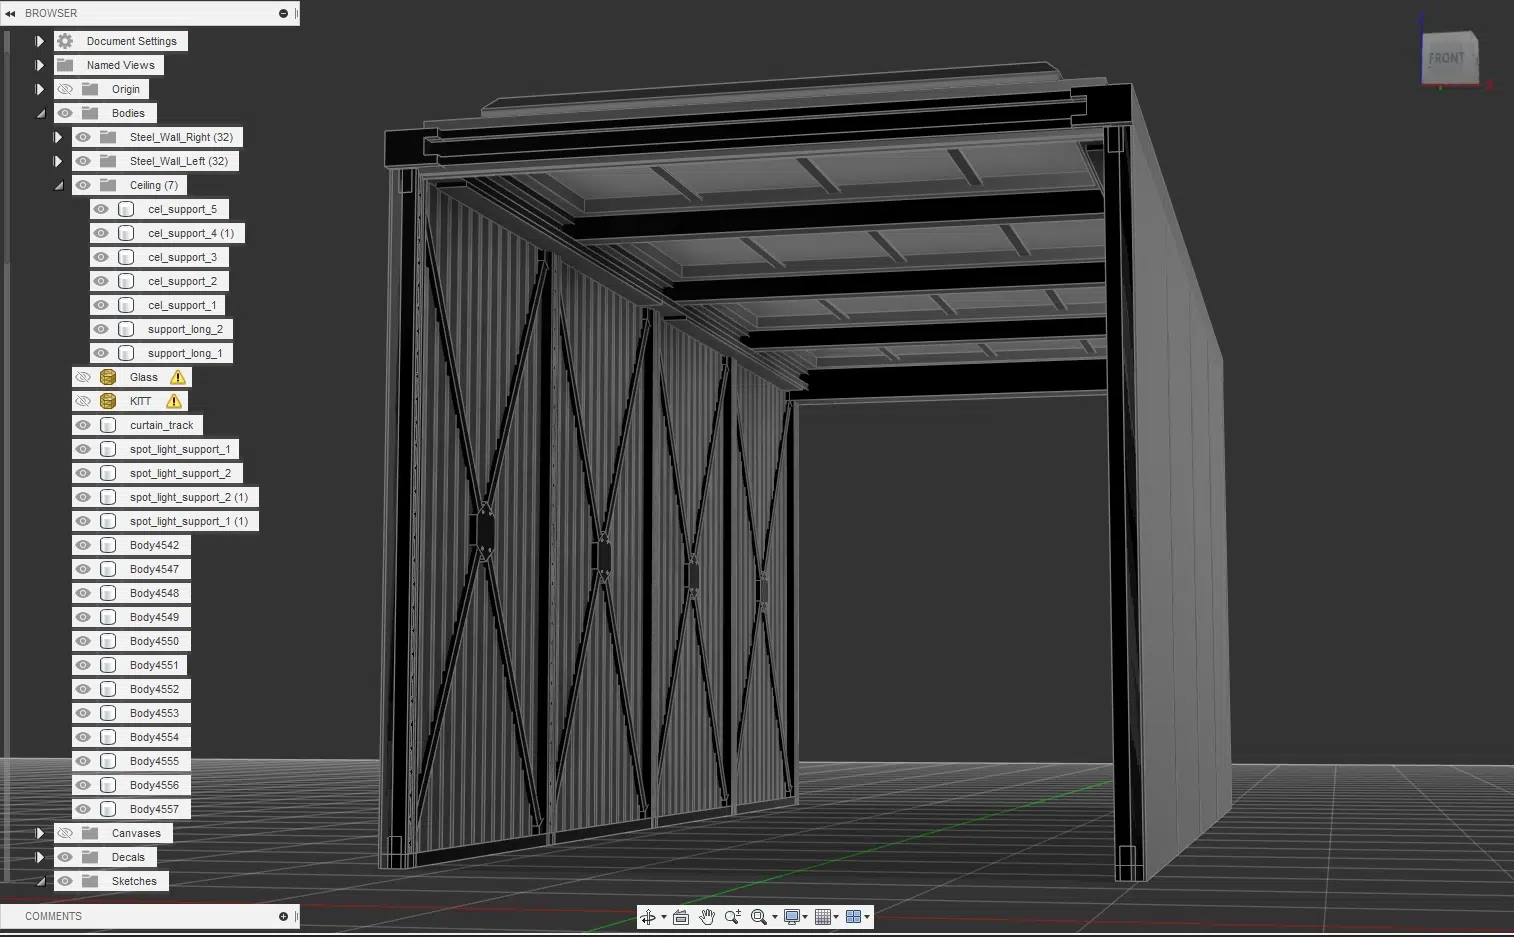
My objective for today is to complete a significant portion of the first half of the interior walls and frame. In this endeavor, the Knight Rider Historians played a vital role by reaching out to the public for assistance in locating precisely these parts. Consequently, I had access to two images that will be immensely helpful in this process. These two photos alone provided valuable insights into the nature of the corrugated steel wall panels. While accounting for 3D printing limitations, I'll need to slightly enlarge the holes in the dividers. However, aside from that, this represents a significant advancement in the right direction. Additionally, I observed a noteworthy detail towards the far left—specifically, the meeting of braces in small corner pieces at the bottom. This is a detail I would have certainly overlooked had it not been for Bonnie being underneath KITT.
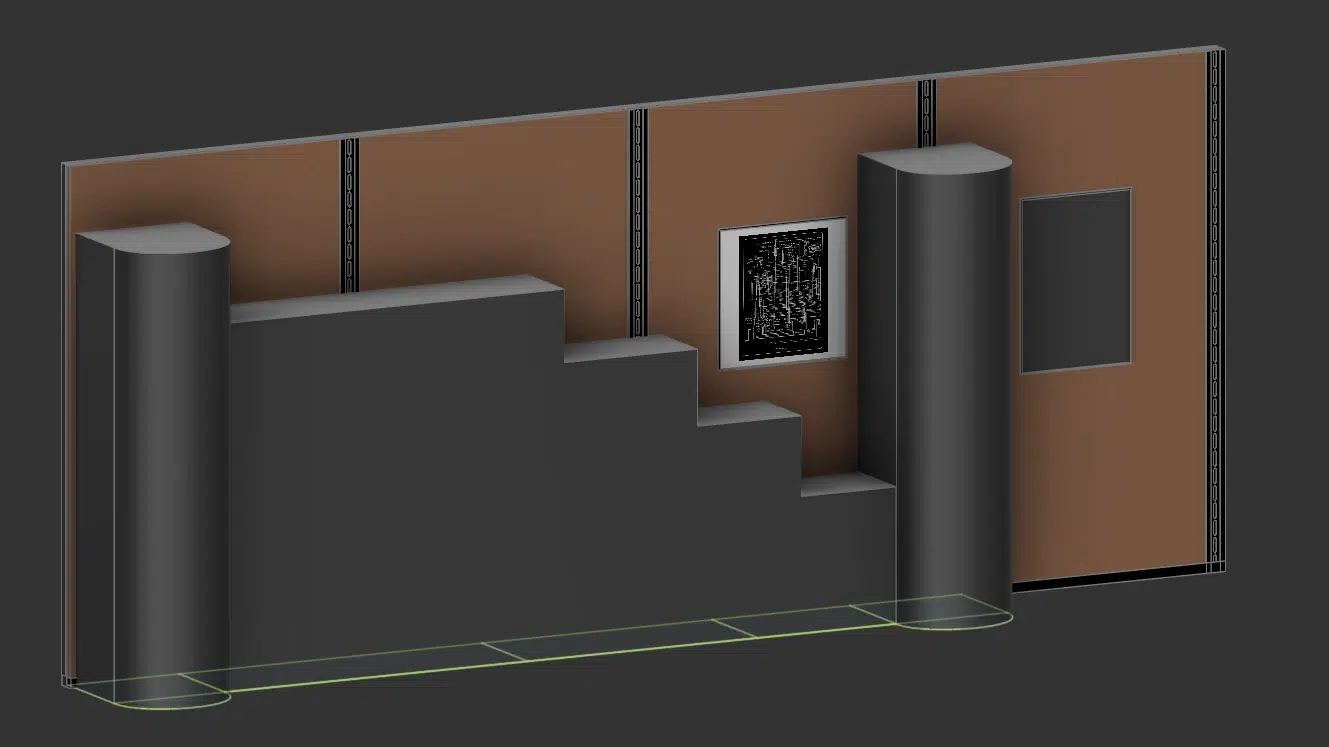
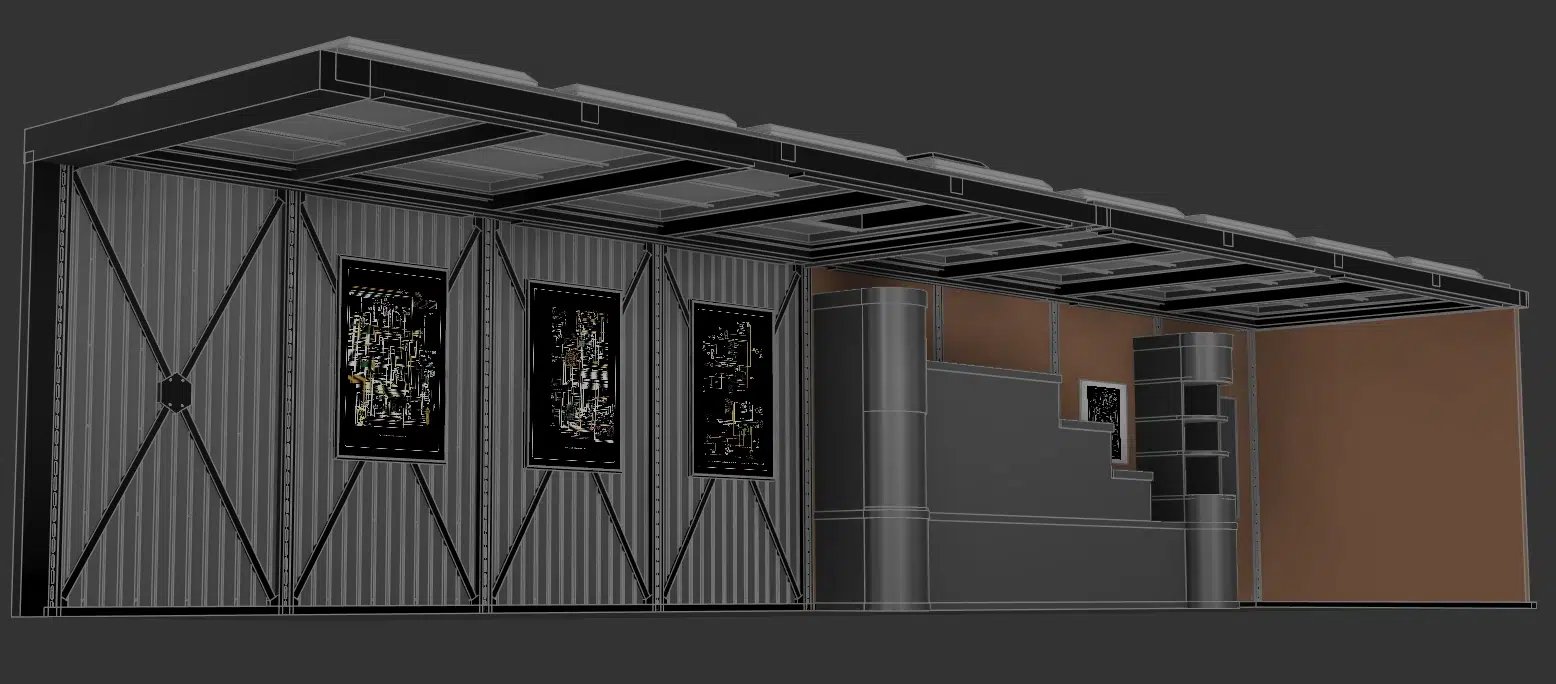
From that point, everything else came together quite smoothly. I managed to capture some excellent shots of the semi stage from the show. Although the clarity of these USA Blu-rays could have been better, they provided enough information to comprehend the fundamental frame and wall layout. Once this was deciphered, it was a matter of simple copy and paste to finalize the walls and supports. I incorporated some of the posters and began outlining the prominent wall desk. Following that, I proceeded to work on the ceiling lights, intending to have them raised to accommodate real LED lights. Feel free to peruse the gallery to the right for photos showcasing the progress made throughout the rest of the day.

